Lifestyle
How To Clean Crocs
Published: February 27, 2024
Learn how to clean and maintain your Crocs for a fresh and stylish look. Discover essential tips and tricks for a cleaner lifestyle.
(Many of the links in this article redirect to a specific reviewed product. Your purchase of these products through affiliate links helps to generate commission for Noodls.com, at no extra cost. Learn more)
Table of Contents
Introduction
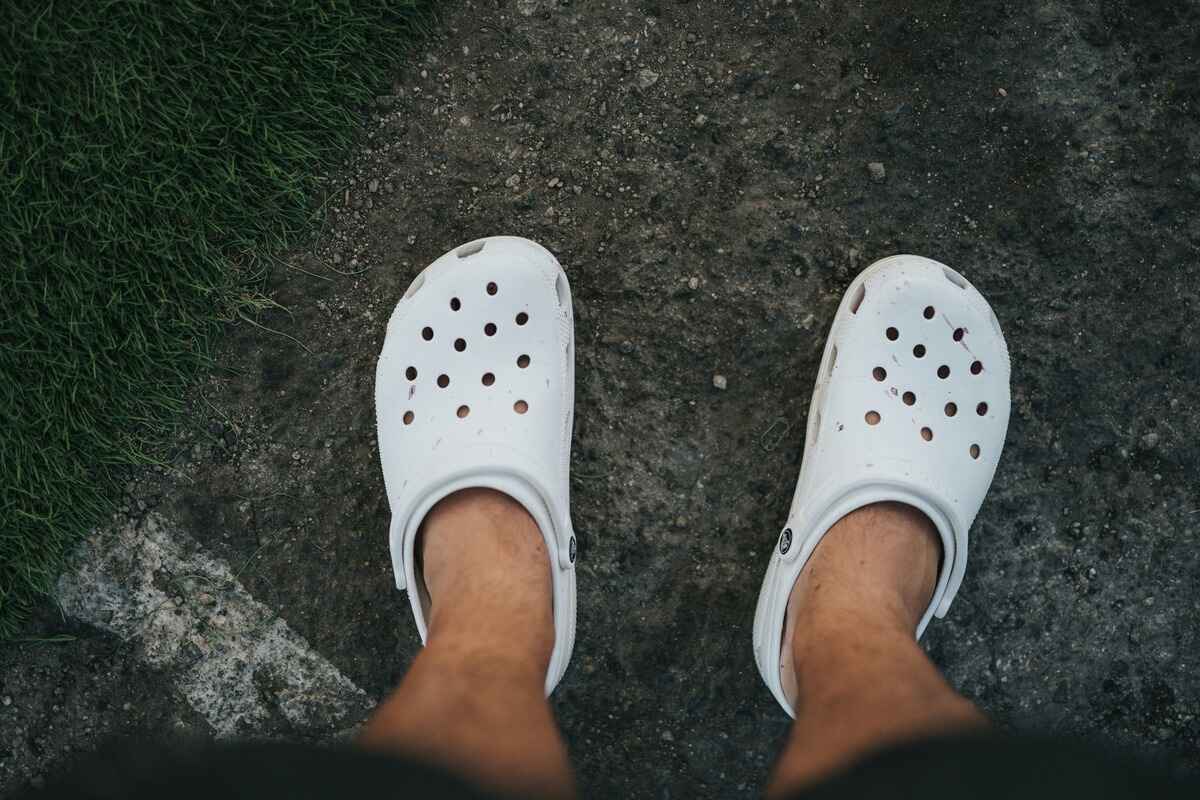
Crocs are a popular choice of footwear for people of all ages due to their comfort, durability, and versatility. Whether you wear them for a leisurely stroll, a day at the beach, or even as work shoes, it's inevitable that they will accumulate dirt, grime, and odors over time. Properly cleaning your Crocs not only helps maintain their appearance but also ensures that they remain hygienic and odor-free.
In this comprehensive guide, we will walk you through the step-by-step process of cleaning your beloved Crocs to restore them to their original glory. From removing dirt and debris to tackling tough stains, we've got you covered. Additionally, we'll share tips on how to dry your Crocs effectively and provide insights into applying a protective coating to keep them looking fresh for longer.
By following these simple yet effective cleaning methods, you can extend the lifespan of your Crocs and continue enjoying the comfort and style they offer. So, grab your cleaning supplies and let's dive into the process of reviving your trusty pair of Crocs!
Read more: How To Put On Croc Charms
Materials Needed
To clean your Crocs effectively, you'll need a few basic materials that are readily available in most households. Here's a list of items you'll need to gather before you begin the cleaning process:
-
Mild Soap: Opt for a gentle, non-abrasive soap, such as dish soap or hand soap. Avoid using harsh chemicals or strong detergents, as they can potentially damage the material of your Crocs.
-
Soft-Bristled Brush or Sponge: A soft-bristled brush or sponge will help you scrub away dirt and stains without causing any damage to the surface of your Crocs. Look for a brush with nylon or soft plastic bristles to ensure gentle yet effective cleaning.
-
Water: You'll need access to clean water for rinsing and washing your Crocs. Whether you choose to clean them outdoors with a hose or indoors in a sink, having a water source nearby is essential.
-
Magic Eraser (Optional): For stubborn stains that are difficult to remove with soap and water alone, a magic eraser can be a handy tool. This melamine foam sponge works wonders on tough marks and scuffs without requiring harsh chemicals.
-
Towel or Air Dryer: After cleaning your Crocs, you'll need a clean, dry towel to absorb excess moisture. Alternatively, you can use an air dryer to speed up the drying process, especially if you're cleaning multiple pairs of Crocs.
-
Protective Coating (Optional): If you want to provide an extra layer of protection for your freshly cleaned Crocs, consider using a protective coating spray designed for shoes. This optional step can help repel water, dirt, and stains, keeping your Crocs looking cleaner for longer.
By gathering these materials, you'll be well-prepared to tackle the cleaning process and restore your Crocs to their pristine condition. With the right tools at your disposal, you can effectively remove dirt, stains, and odors from your favorite pair of footwear, ensuring they remain comfortable and visually appealing for many more adventures to come.
Step 1: Remove Dirt and Debris
Before diving into the cleaning process, it's essential to start by removing any accumulated dirt and debris from your Crocs. This initial step sets the stage for a more thorough cleaning and ensures that the surface is ready to be washed. Here's how to effectively remove dirt and debris from your Crocs:
-
Shake Off Excess Debris: Begin by giving your Crocs a good shake to dislodge any loose dirt, sand, or small debris that may be trapped in the crevices or treads of the shoes. Holding the Crocs upside down, gently tap the soles together to encourage the debris to fall out. This simple yet effective method helps eliminate the bulk of surface-level dirt before proceeding to more targeted cleaning.
-
Use a Soft Brush or Cloth: For stubborn or embedded dirt, use a soft-bristled brush or a damp cloth to gently scrub the affected areas. Pay close attention to the grooves, textured surfaces, and any areas where dirt may be trapped. A gentle brushing motion or light rubbing with a damp cloth can help dislodge dirt without causing damage to the material of the Crocs.
-
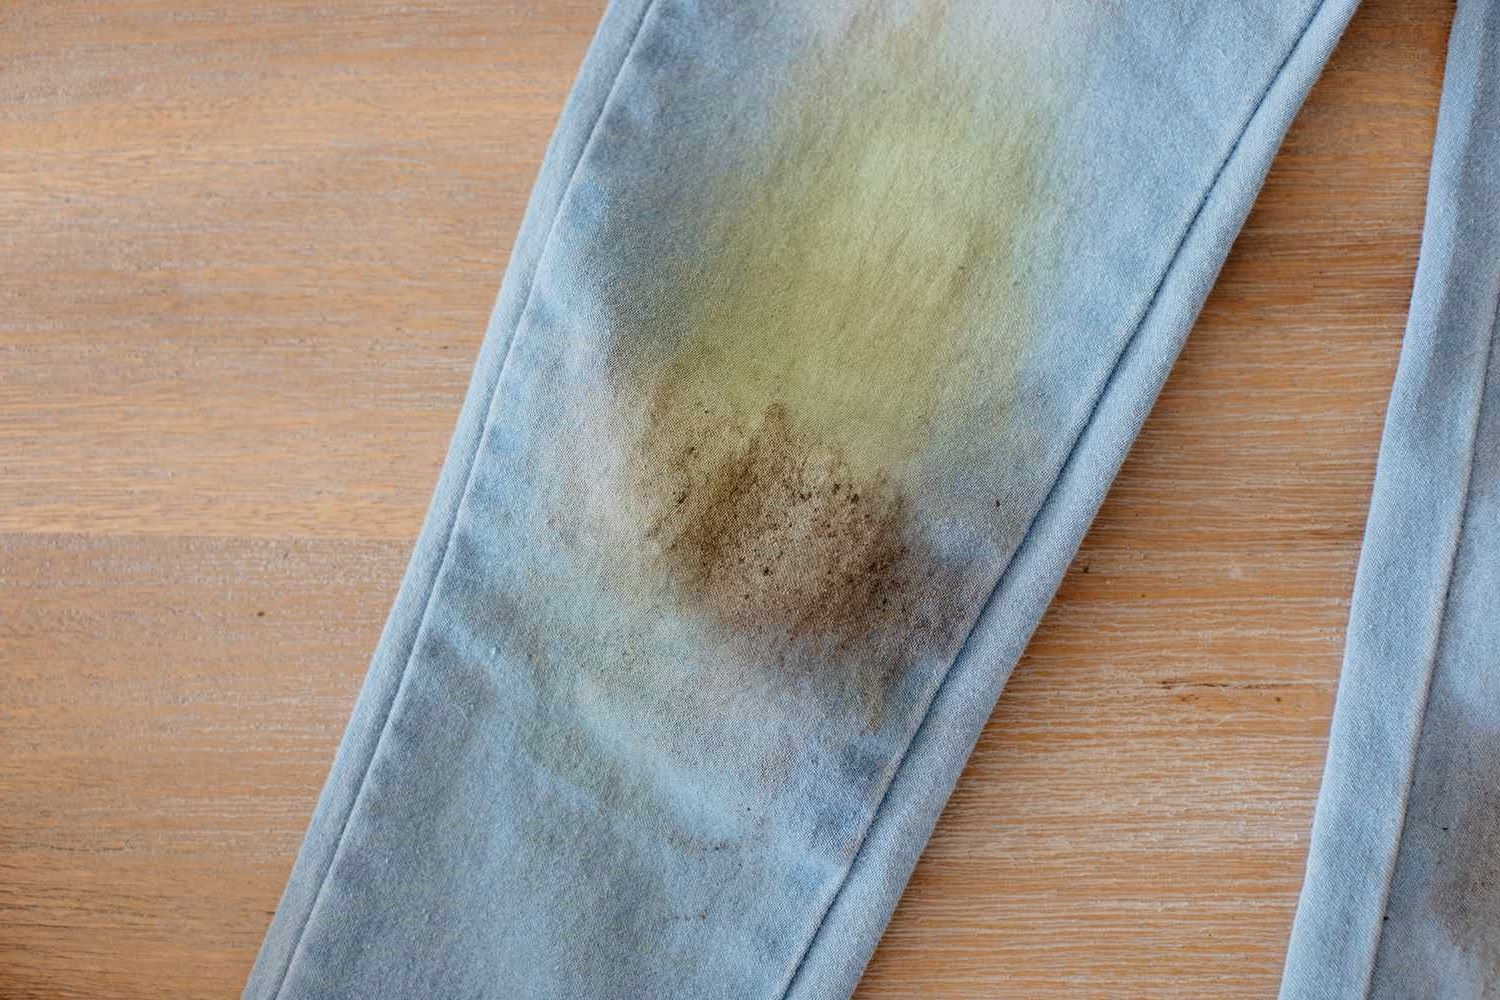
Inspect and Target Stains: Take a closer look at your Crocs to identify any specific stains or areas of concentrated dirt. If you notice particularly stubborn stains, consider using a mild soap and water solution to pre-treat these areas before proceeding with the overall cleaning process. By addressing individual stains at this stage, you can effectively target problem areas and improve the overall cleanliness of your Crocs.
By taking the time to thoroughly remove dirt and debris from your Crocs, you're laying the groundwork for a successful cleaning process. This initial step not only prepares the surface for washing but also helps prevent dirt from spreading or becoming more deeply embedded during the subsequent cleaning stages. With the dirt and debris effectively removed, you can proceed with confidence to the next phase of cleaning your Crocs and restoring them to their original luster.
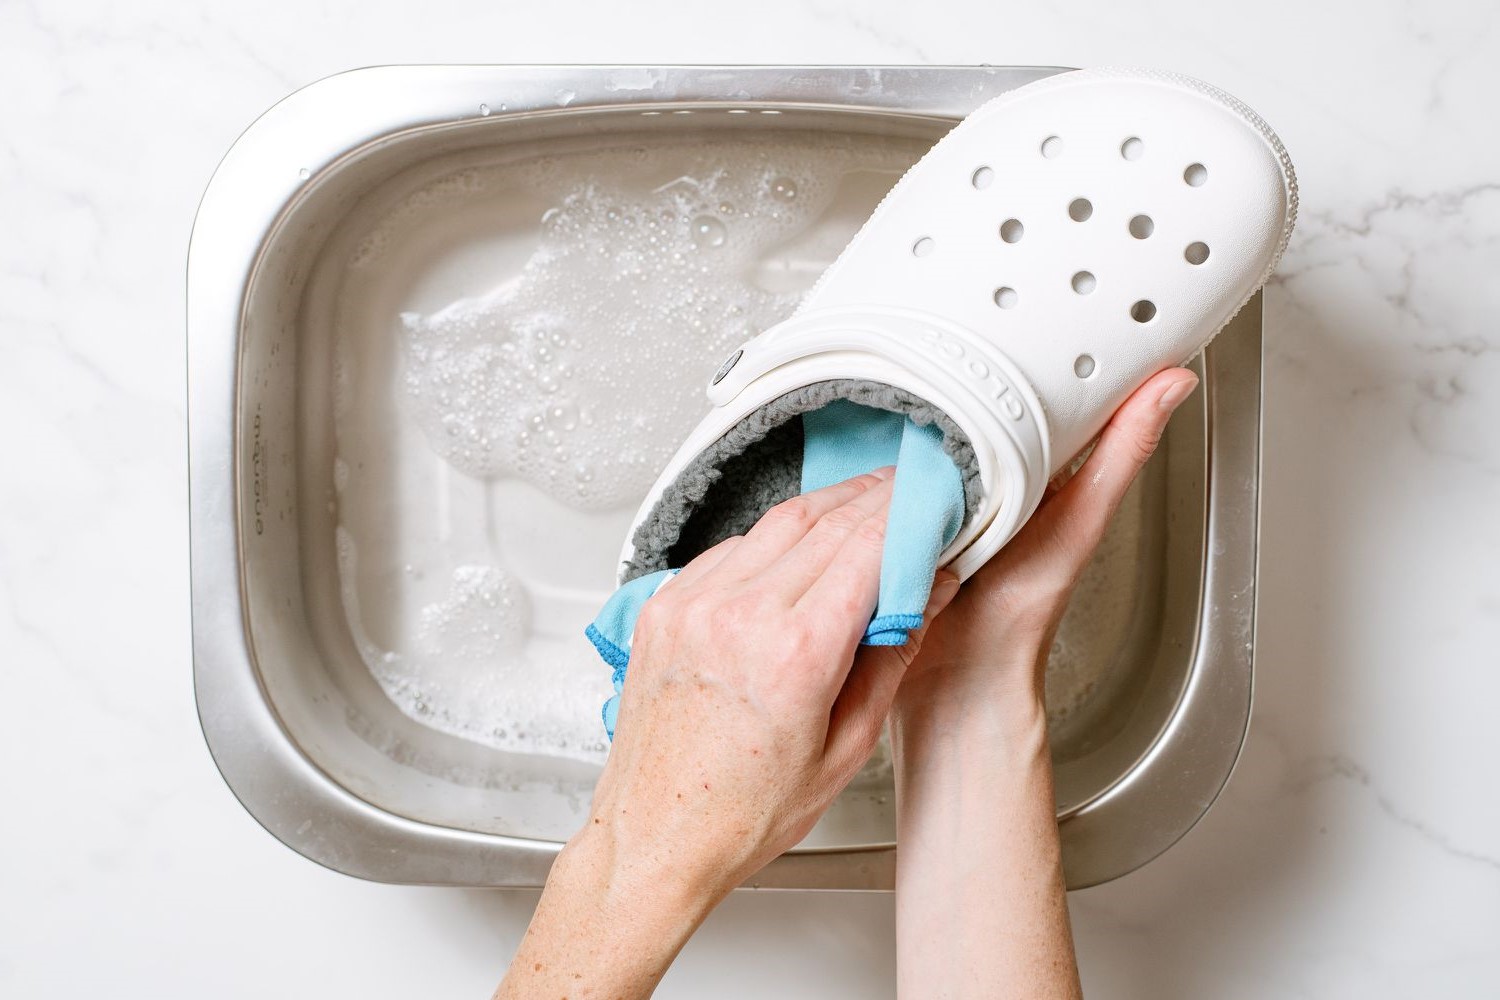
Step 2: Clean with Soap and Water
Once you've successfully removed the dirt and debris from your Crocs, it's time to proceed with the primary cleaning process using a gentle soap and water solution. This step is crucial for lifting away surface grime, eliminating odors, and restoring the overall cleanliness of your beloved footwear. Follow these detailed instructions to effectively clean your Crocs with soap and water:
-
Prepare the Soap and Water Solution: Fill a basin or sink with lukewarm water and add a small amount of mild soap. Avoid using excessive soap, as this can lead to excessive suds and make rinsing more challenging. A teaspoon of soap should suffice for a basin of water. Gently swirl the water to create a soapy solution.
-
Submerge and Soak: Place your Crocs in the soapy water, ensuring that they are fully submerged. Allowing the Crocs to soak in the soapy solution helps loosen dirt, soften stains, and prepare the material for gentle cleaning. Let them soak for a few minutes to maximize the effectiveness of the cleaning process.
-
Gently Scrub with a Soft Brush or Sponge: Using a soft-bristled brush or sponge, gently scrub the entire surface of your Crocs, paying particular attention to areas with visible dirt or stains. Use light pressure and circular motions to lift away grime without causing damage to the material. Focus on textured areas, straps, and any crevices where dirt may be trapped.
-
Rinse Thoroughly: Once you've finished scrubbing, thoroughly rinse your Crocs with clean water to remove the soapy residue. It's essential to ensure that all traces of soap are completely washed away to prevent any potential residue from accumulating on the surface of your Crocs. A gentle stream of water or a damp cloth can be used for rinsing.
-
Inspect and Repeat as Needed: After rinsing, inspect your Crocs to assess their cleanliness. If you notice lingering dirt or stains, consider repeating the cleaning process in targeted areas. For stubborn stains, you may opt to use a bit of extra soap and gentle scrubbing to achieve the desired results.
By following these detailed steps, you can effectively clean your Crocs with a simple yet powerful combination of soap and water. This method is gentle on the material while being highly effective at removing dirt, stains, and odors. Once your Crocs have been thoroughly cleaned, proceed to the next step to ensure they are dried properly before being ready for wear.
Step 3: Dry the Crocs
Properly drying your Crocs is a crucial step in the cleaning process, as it ensures that they maintain their shape, prevent odors, and are ready for your next adventure. Here's a detailed guide on how to effectively dry your freshly cleaned Crocs:
-
Remove Excess Water: After rinsing your Crocs, use a clean, dry towel to gently pat the surface and absorb excess moisture. Pay particular attention to the interior of the Crocs, including the footbed and any areas where water may have accumulated. By removing excess water at this stage, you can expedite the drying process and prevent prolonged dampness, which can lead to unpleasant odors.
-
Air Dry: The most common and effective method for drying Crocs is to allow them to air dry naturally. Find a well-ventilated area with good air circulation, and place your Crocs in a location where they can receive adequate airflow. Avoid placing them in direct sunlight or near a direct source of heat, as excessive heat can potentially damage the material of the Crocs. Allowing them to air dry at room temperature is the gentlest approach and helps maintain the integrity of the footwear.
-
Use an Air Dryer (Optional): If you're in a hurry or need to expedite the drying process, you can use an air dryer set to a low or cool setting. Hold the air dryer several inches away from the Crocs and move it around to ensure even drying. Avoid using high heat, as it can cause the material to warp or shrink. Keep a moderate distance and periodically check the Crocs to assess their dryness.
-
Check for Complete Dryness: Before wearing your Crocs, ensure that they are completely dry both inside and out. Check the footbed, straps, and any textured areas to confirm that there is no lingering moisture. Dampness can lead to discomfort and potential odor buildup, so it's essential to be thorough in assessing the dryness of your Crocs.
By following these steps, you can effectively dry your Crocs after cleaning, ensuring that they are ready for your next outing. Proper drying not only maintains the integrity of the material but also contributes to the overall hygiene and comfort of your favorite pair of footwear. With your Crocs now clean and dry, you're all set to step out in style and comfort, knowing that your trusty footwear is in prime condition.
Step 4: Optional: Use a Magic Eraser for Tough Stains
For particularly stubborn stains that may resist the traditional soap and water cleaning method, employing a magic eraser can be a game-changer. This optional step is especially useful for tackling tough marks, scuffs, or discoloration that may have accumulated on your Crocs over time. Here's a detailed exploration of how to effectively use a magic eraser to address tough stains on your beloved footwear.
-
Selecting the Right Magic Eraser: When choosing a magic eraser for cleaning your Crocs, opt for a melamine foam sponge specifically designed for household cleaning. These sponges are highly effective at lifting away stubborn marks without the need for harsh chemicals or abrasive scrubbing. Ensure that the magic eraser is damp but not dripping wet before use.
-
Spot Testing: Before proceeding to treat the entire surface of your Crocs with a magic eraser, it's advisable to conduct a spot test on a small, inconspicuous area. This allows you to assess how the material responds to the cleaning process and ensures that there are no adverse effects such as discoloration or texture alteration.
-
Gently Rubbing the Stained Areas: With the damp magic eraser in hand, gently rub the affected areas of your Crocs in a back-and-forth motion. Apply light to moderate pressure, allowing the magic eraser to work its magic on the tough stains. Focus on specific areas where stains are prominent, such as the toe cap, heel, or any textured surfaces that may have accumulated dirt.
-
Assessing Progress and Repeating as Needed: As you work on the tough stains with the magic eraser, periodically assess the progress to determine if the stains are lifting effectively. For deeply ingrained or persistent marks, you may need to repeat the process multiple times, gradually lightening the stains until they are satisfactorily diminished.
-
Rinsing and Drying: Once you've addressed the tough stains with the magic eraser, rinse your Crocs thoroughly with clean water to remove any residual eraser particles. Follow the drying process outlined in Step 3 to ensure that your Crocs are completely dry before wearing them.
By incorporating the optional use of a magic eraser for tough stains, you can elevate the cleaning process and effectively restore the appearance of your Crocs. This targeted approach allows you to address specific areas of concern, ensuring that your footwear maintains its visual appeal and cleanliness. With the tough stains successfully treated, your Crocs will be ready to accompany you on your next adventure, looking refreshed and revitalized.
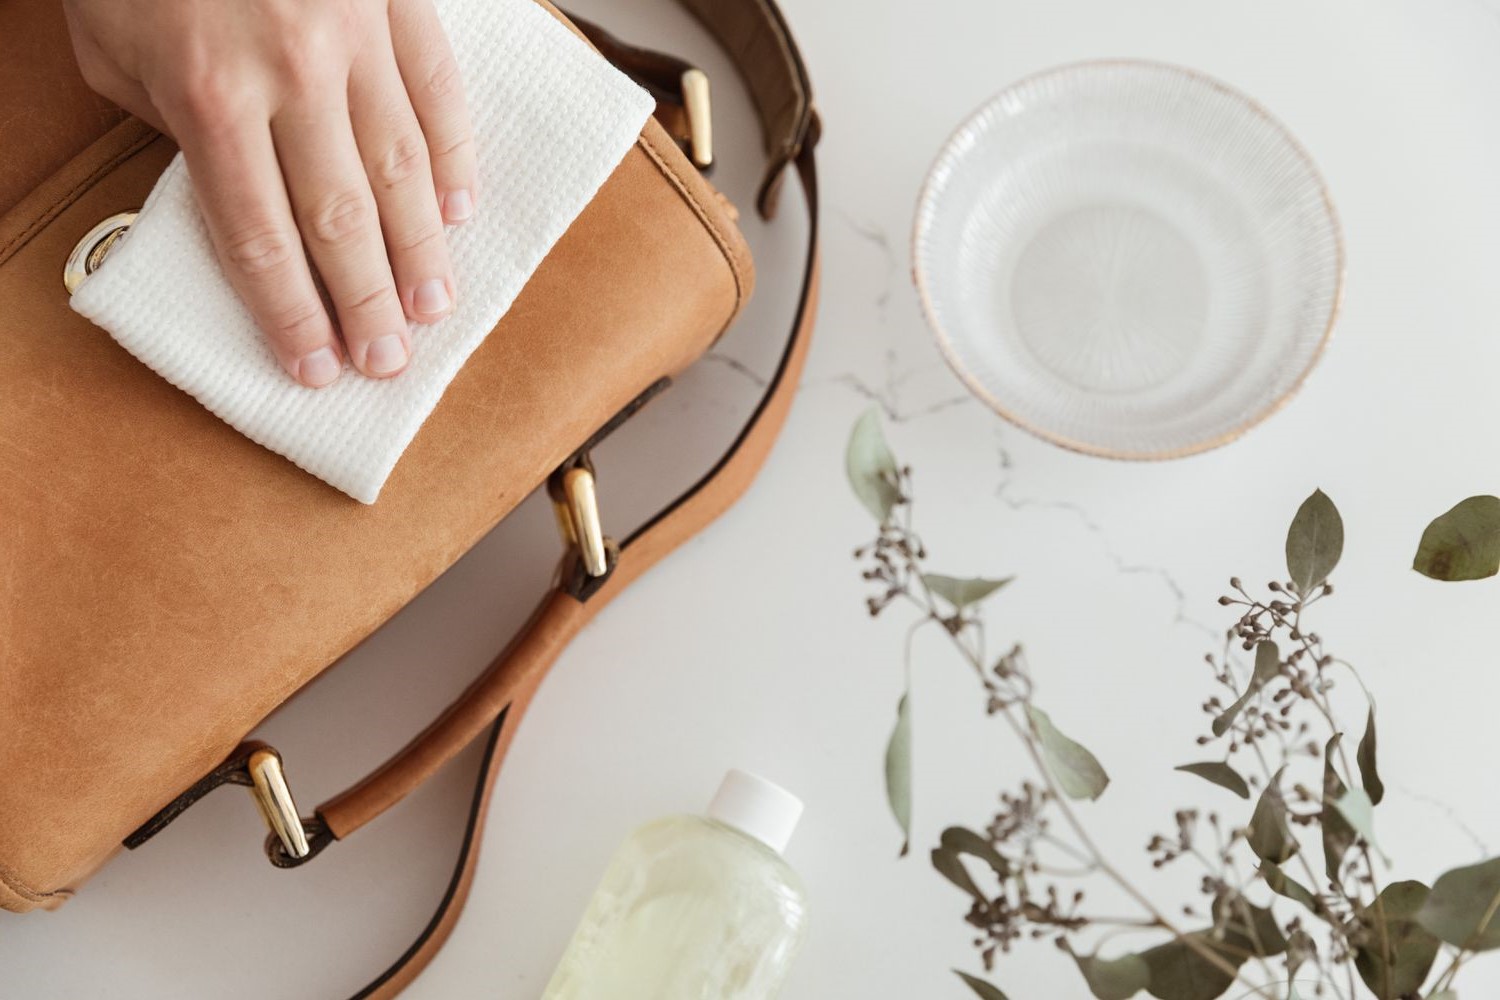
Step 5: Optional: Apply a Protective Coating
After completing the cleaning process for your Crocs, you have the option to take an extra step to safeguard them against future dirt, stains, and moisture. Applying a protective coating can provide an additional layer of defense, prolonging the cleanliness and visual appeal of your beloved footwear. Here's a detailed exploration of how to effectively apply a protective coating to your freshly cleaned Crocs.
-
Selecting a Suitable Protective Coating: When choosing a protective coating for your Crocs, opt for a product specifically designed for shoes and suitable for the material of your footwear. Look for coatings that offer water resistance, stain protection, and UV resistance to ensure comprehensive safeguarding.
-
Preparation and Application: Before applying the protective coating, ensure that your Crocs are clean and completely dry. Select a well-ventilated area and lay down a protective covering to prevent any potential overspray. Shake the coating canister well and hold it approximately 6 inches away from the Crocs while spraying.
-
Even Application: Begin spraying the protective coating in a steady, sweeping motion, ensuring even coverage across the entire surface of your Crocs. Pay particular attention to textured areas, seams, and any vulnerable spots where moisture and stains may penetrate. Apply a light, uniform coat without oversaturating the material.
-
Allowing for Drying Time: Once the protective coating has been applied, allow your Crocs to dry thoroughly according to the manufacturer's instructions. This typically involves letting them air dry in a well-ventilated area for the recommended duration. Avoid wearing or handling the Crocs until the protective coating has fully dried to ensure optimal effectiveness.
-
Assessing and Reapplication: After the initial application and drying process, assess the effectiveness of the protective coating by conducting a water droplet test. If water beads up and rolls off the surface of your Crocs, the protective coating is functioning as intended. If necessary, consider applying a second coat for enhanced protection, following the same application and drying procedures.
By opting to apply a protective coating to your Crocs, you can extend the longevity of their cleanliness and visual appeal. This optional step provides peace of mind, knowing that your footwear is equipped to repel water, resist stains, and maintain its pristine condition through various activities and environments. With your Crocs now cleaned, dried, and optionally coated for protection, you're ready to step out with confidence, knowing that your trusty footwear is well-prepared for whatever adventures lie ahead.
Conclusion
In conclusion, maintaining the cleanliness and pristine condition of your Crocs is not only essential for their visual appeal but also for ensuring their longevity and performance. By following the comprehensive cleaning process outlined in this guide, you can effectively remove dirt, stains, and odors from your beloved footwear, restoring them to their original glory.
From the initial step of removing dirt and debris to the optional application of a protective coating, each stage of the cleaning process plays a crucial role in preserving the comfort and aesthetic appeal of your Crocs. The use of gentle soap and water, coupled with the optional inclusion of a magic eraser for tough stains, empowers you to address a wide range of cleaning challenges while maintaining the integrity of the material.
Proper drying techniques, whether through air drying or the optional use of an air dryer, ensure that your Crocs are free from excess moisture, preventing discomfort and potential odor buildup. Additionally, the application of a protective coating offers an extra layer of defense, safeguarding your footwear against future dirt, stains, and moisture, thus extending their lifespan and visual appeal.
By incorporating these cleaning methods into your routine maintenance of Crocs, you can continue to enjoy the comfort, versatility, and style that these iconic shoes offer. Whether you wear them for leisure, work, or outdoor activities, knowing how to effectively clean and maintain your Crocs allows you to step out with confidence, knowing that your footwear is in prime condition.
So, the next time your Crocs are in need of a refresh, refer back to this guide and embark on the cleaning journey with the knowledge and tools to revitalize your trusty pair of shoes. With proper care and attention, your Crocs will continue to accompany you on countless adventures, providing comfort and style every step of the way.