Home>Home and Garden>How To Build DIY Closet Shelves

Home and Garden
How To Build DIY Closet Shelves
Published: March 5, 2024
Learn how to create custom DIY closet shelves for your home with our step-by-step guide. Transform your space with these practical home and garden storage solutions.
(Many of the links in this article redirect to a specific reviewed product. Your purchase of these products through affiliate links helps to generate commission for Noodls.com, at no extra cost. Learn more)
Table of Contents
Introduction
Are you tired of struggling to find space for your clothes, shoes, and accessories in your closet? Do you dream of a more organized and efficient storage solution? If so, building DIY closet shelves could be the perfect project for you. With just a few basic materials and some simple tools, you can transform your cluttered closet into a well-organized and visually appealing space.
Building your own closet shelves not only allows you to customize the design to suit your specific needs but also provides a sense of accomplishment and satisfaction. Whether you're a seasoned DIY enthusiast or a novice looking to embark on your first home improvement project, this step-by-step guide will walk you through the process of creating functional and stylish closet shelves.
By taking on this project, you'll not only save money compared to purchasing pre-made shelving units but also have the freedom to personalize the shelves to fit the dimensions of your closet perfectly. Additionally, you can choose the type of material that best suits your style and budget, whether it's sturdy plywood for a classic look or sleek melamine for a modern touch.
As you embark on this DIY journey, you'll discover that building closet shelves is not just about creating storage space; it's about enhancing the functionality and aesthetics of your home. With a well-organized closet, you can streamline your morning routine, easily locate your favorite clothing items, and maintain a clutter-free environment.
So, roll up your sleeves, gather your materials and tools, and let's dive into the rewarding process of building DIY closet shelves. Get ready to transform your closet into a space that not only meets your storage needs but also reflects your personal style and creativity.
Step 1: Gather Materials and Tools
Before diving into the construction of your DIY closet shelves, it's essential to gather all the necessary materials and tools. By ensuring that you have everything at hand, you can streamline the building process and minimize interruptions. Here's a comprehensive list of items you'll need:
Materials:
- Wood or Melamine Boards: Select high-quality wood or melamine boards that suit your preferences and budget. These will serve as the primary material for constructing the shelves.
- Shelf Brackets or Supports: Choose sturdy and durable shelf brackets or supports to provide the necessary reinforcement for your shelves.
- Screws and Nails: Ensure you have an assortment of screws and nails in various sizes to secure the shelves and brackets in place.
- Wood Glue: Opt for a reliable wood glue to reinforce the joints and enhance the overall stability of the shelves.
- Paint or Varnish (Optional): If you desire a specific color or finish for your shelves, consider purchasing paint or varnish to achieve the desired look.
Tools:
- Tape Measure: A precise measurement is crucial for ensuring that the shelves fit perfectly within your closet space.
- Pencil: Use a pencil to mark the measurements and layout on the boards accurately.
- Circular Saw or Handsaw: Depending on your preference and the quantity of shelves you plan to build, a circular saw or handsaw will be essential for cutting the boards to the required dimensions.
- Screwdriver: Ensure you have a suitable screwdriver for driving the screws into the boards and wall supports.
- Level: A level will help you ensure that the shelves are installed evenly and horizontally.
- Drill: A drill is necessary for creating pilot holes for the screws and for attaching the brackets to the wall.
By gathering these materials and tools, you'll be well-prepared to embark on the construction of your DIY closet shelves. With everything in place, you can proceed to the next step with confidence, knowing that you have everything you need to create functional and visually appealing storage solutions for your closet.
Step 2: Measure and Plan
Accurate measurements and meticulous planning are the cornerstones of a successful DIY closet shelf project. Before cutting any materials, it's crucial to measure the dimensions of your closet space carefully. Start by measuring the width, height, and depth of the closet, taking into account any obstructions such as baseboards or trim that may affect the placement of the shelves.
Once you have the precise measurements, it's time to plan the layout of your shelves. Consider the items you intend to store on the shelves, such as folded clothing, shoes, or accessories, and determine the most practical shelf spacing to accommodate these items. Keep in mind that adjustable shelves offer flexibility, allowing you to reconfigure the layout as your storage needs change over time.
Using a pencil and a level, mark the positions for the shelves on the closet walls, ensuring that the markings are aligned and level. This step is crucial for visualizing the placement of the shelves and ensuring that they will be both functional and aesthetically pleasing.
In the planning phase, consider the overall design and style you wish to achieve. Whether you prefer a minimalist, modern look or a more traditional and ornate design, your plan should reflect your personal taste and complement the existing decor of your home. Additionally, if you opt to paint or varnish the shelves, this is the stage to decide on the color or finish that will best suit your vision.
As you finalize your plan, take into account any additional features you may want to incorporate, such as hanging rods for clothing or integrated lighting to illuminate the shelves. By carefully considering these details during the planning phase, you can ensure that your DIY closet shelves will not only meet your storage needs but also enhance the functionality and visual appeal of your closet space.
Remember, the time invested in measuring and planning will contribute significantly to the success of your project. By taking a thoughtful and thorough approach to this crucial step, you'll set the stage for the seamless execution of the subsequent construction phases, ultimately leading to the creation of well-crafted and customized closet shelves that perfectly suit your needs and style.
Read more: How To Sharpen An Axe
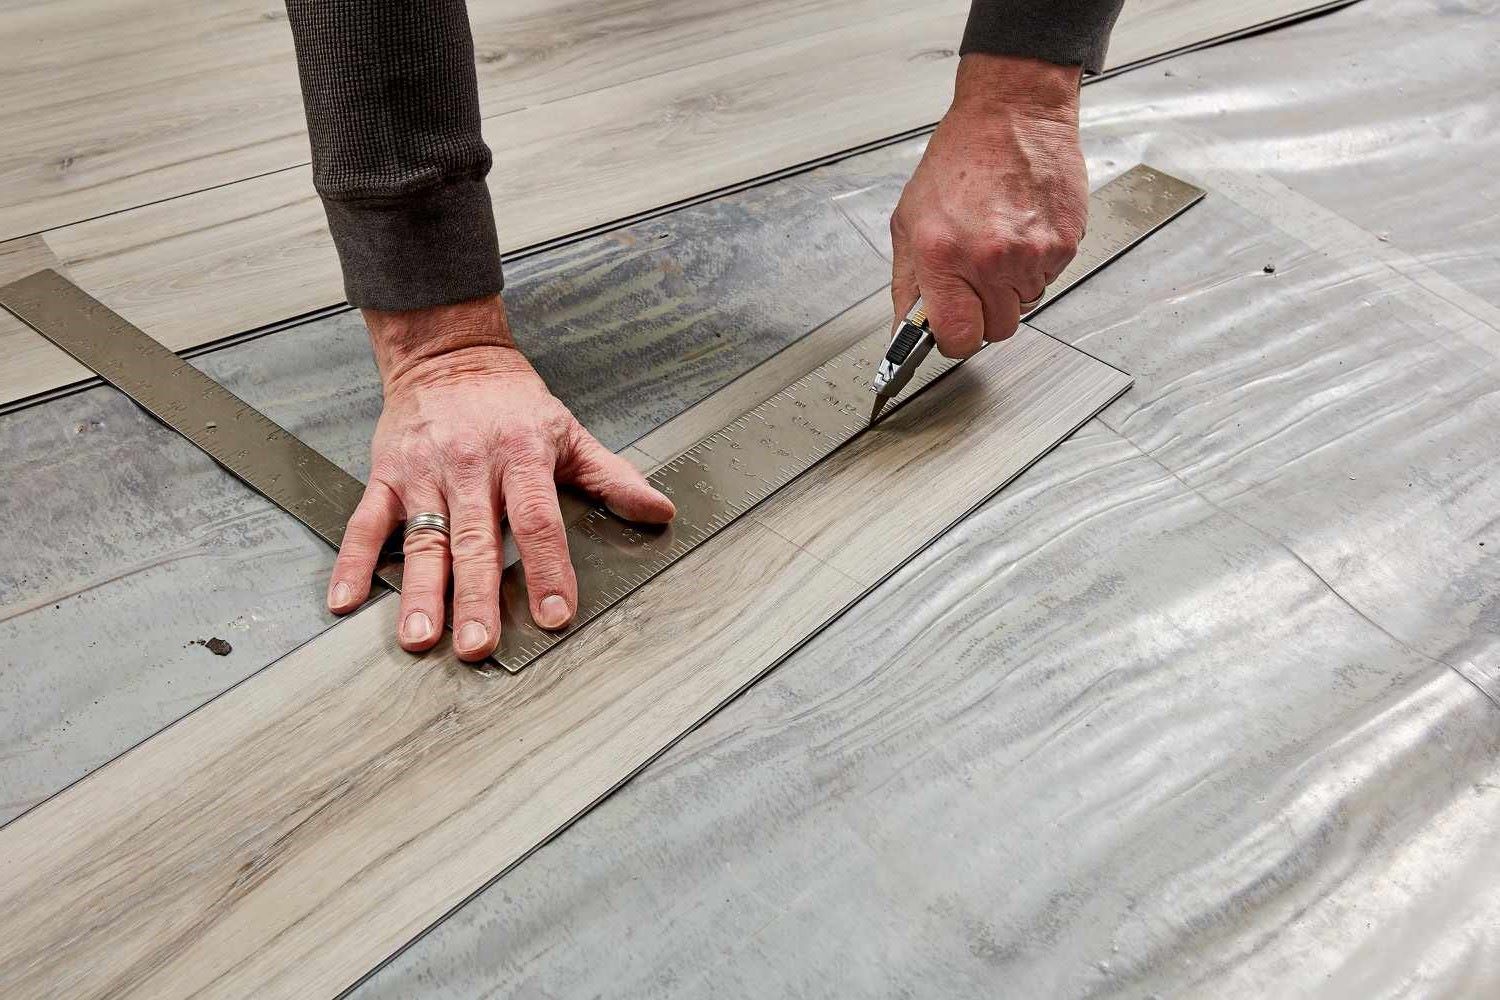
Step 3: Cut Shelves to Size
With the precise measurements and detailed planning in place, it's time to bring your DIY closet shelf project to life by cutting the shelves to the required dimensions. This step is crucial in ensuring that the shelves fit seamlessly within your closet space, providing a functional and visually appealing storage solution.
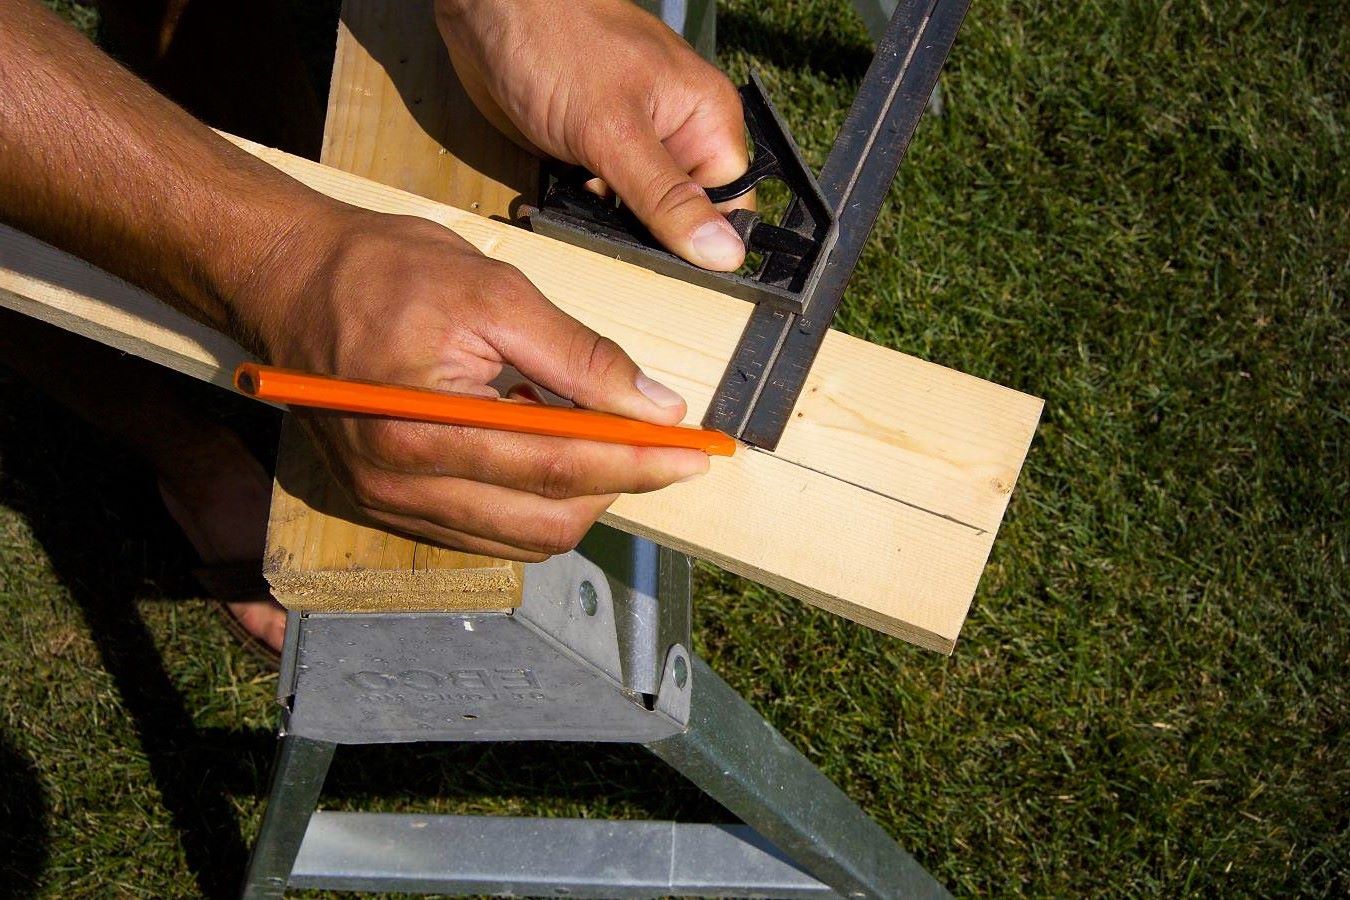
Begin by laying out the selected wood or melamine boards on a stable work surface, ensuring that they are adequately supported to prevent any flexing or movement during the cutting process. Using the measurements and layout plan from the previous step, mark the dimensions of each shelf onto the boards with a pencil and a straight edge. Double-check the measurements to guarantee accuracy before proceeding with the cutting process.
Depending on the quantity of shelves and your preference, you can use a circular saw or a handsaw to make the cuts. When using a circular saw, ensure that the boards are securely clamped or supported to prevent any potential movement during cutting. Take your time and follow the marked lines precisely to achieve clean and accurate cuts.
For those using a handsaw, maintain a steady and controlled motion, allowing the saw to do the work while guiding it along the marked lines. While this method may require more effort, it offers precision and control, particularly when cutting smaller or more intricate shelf pieces.
As you complete each cut, label the shelves accordingly to correspond with their intended positions in the closet. This simple yet essential step will streamline the installation process and prevent any confusion when it comes time to assemble the shelves.
Once all the shelves are cut to size, take a moment to sand the edges and surfaces to ensure a smooth and professional finish. This step not only enhances the visual appeal of the shelves but also minimizes the risk of splinters and rough edges, making the shelves safe to handle and use.
By meticulously cutting the shelves to the precise dimensions and taking the time to refine their edges, you are laying the foundation for a successful and visually impressive closet shelving system. With the shelves now ready for installation, you can proceed to the next step with confidence, knowing that your attention to detail will result in a well-crafted and customized storage solution for your closet.
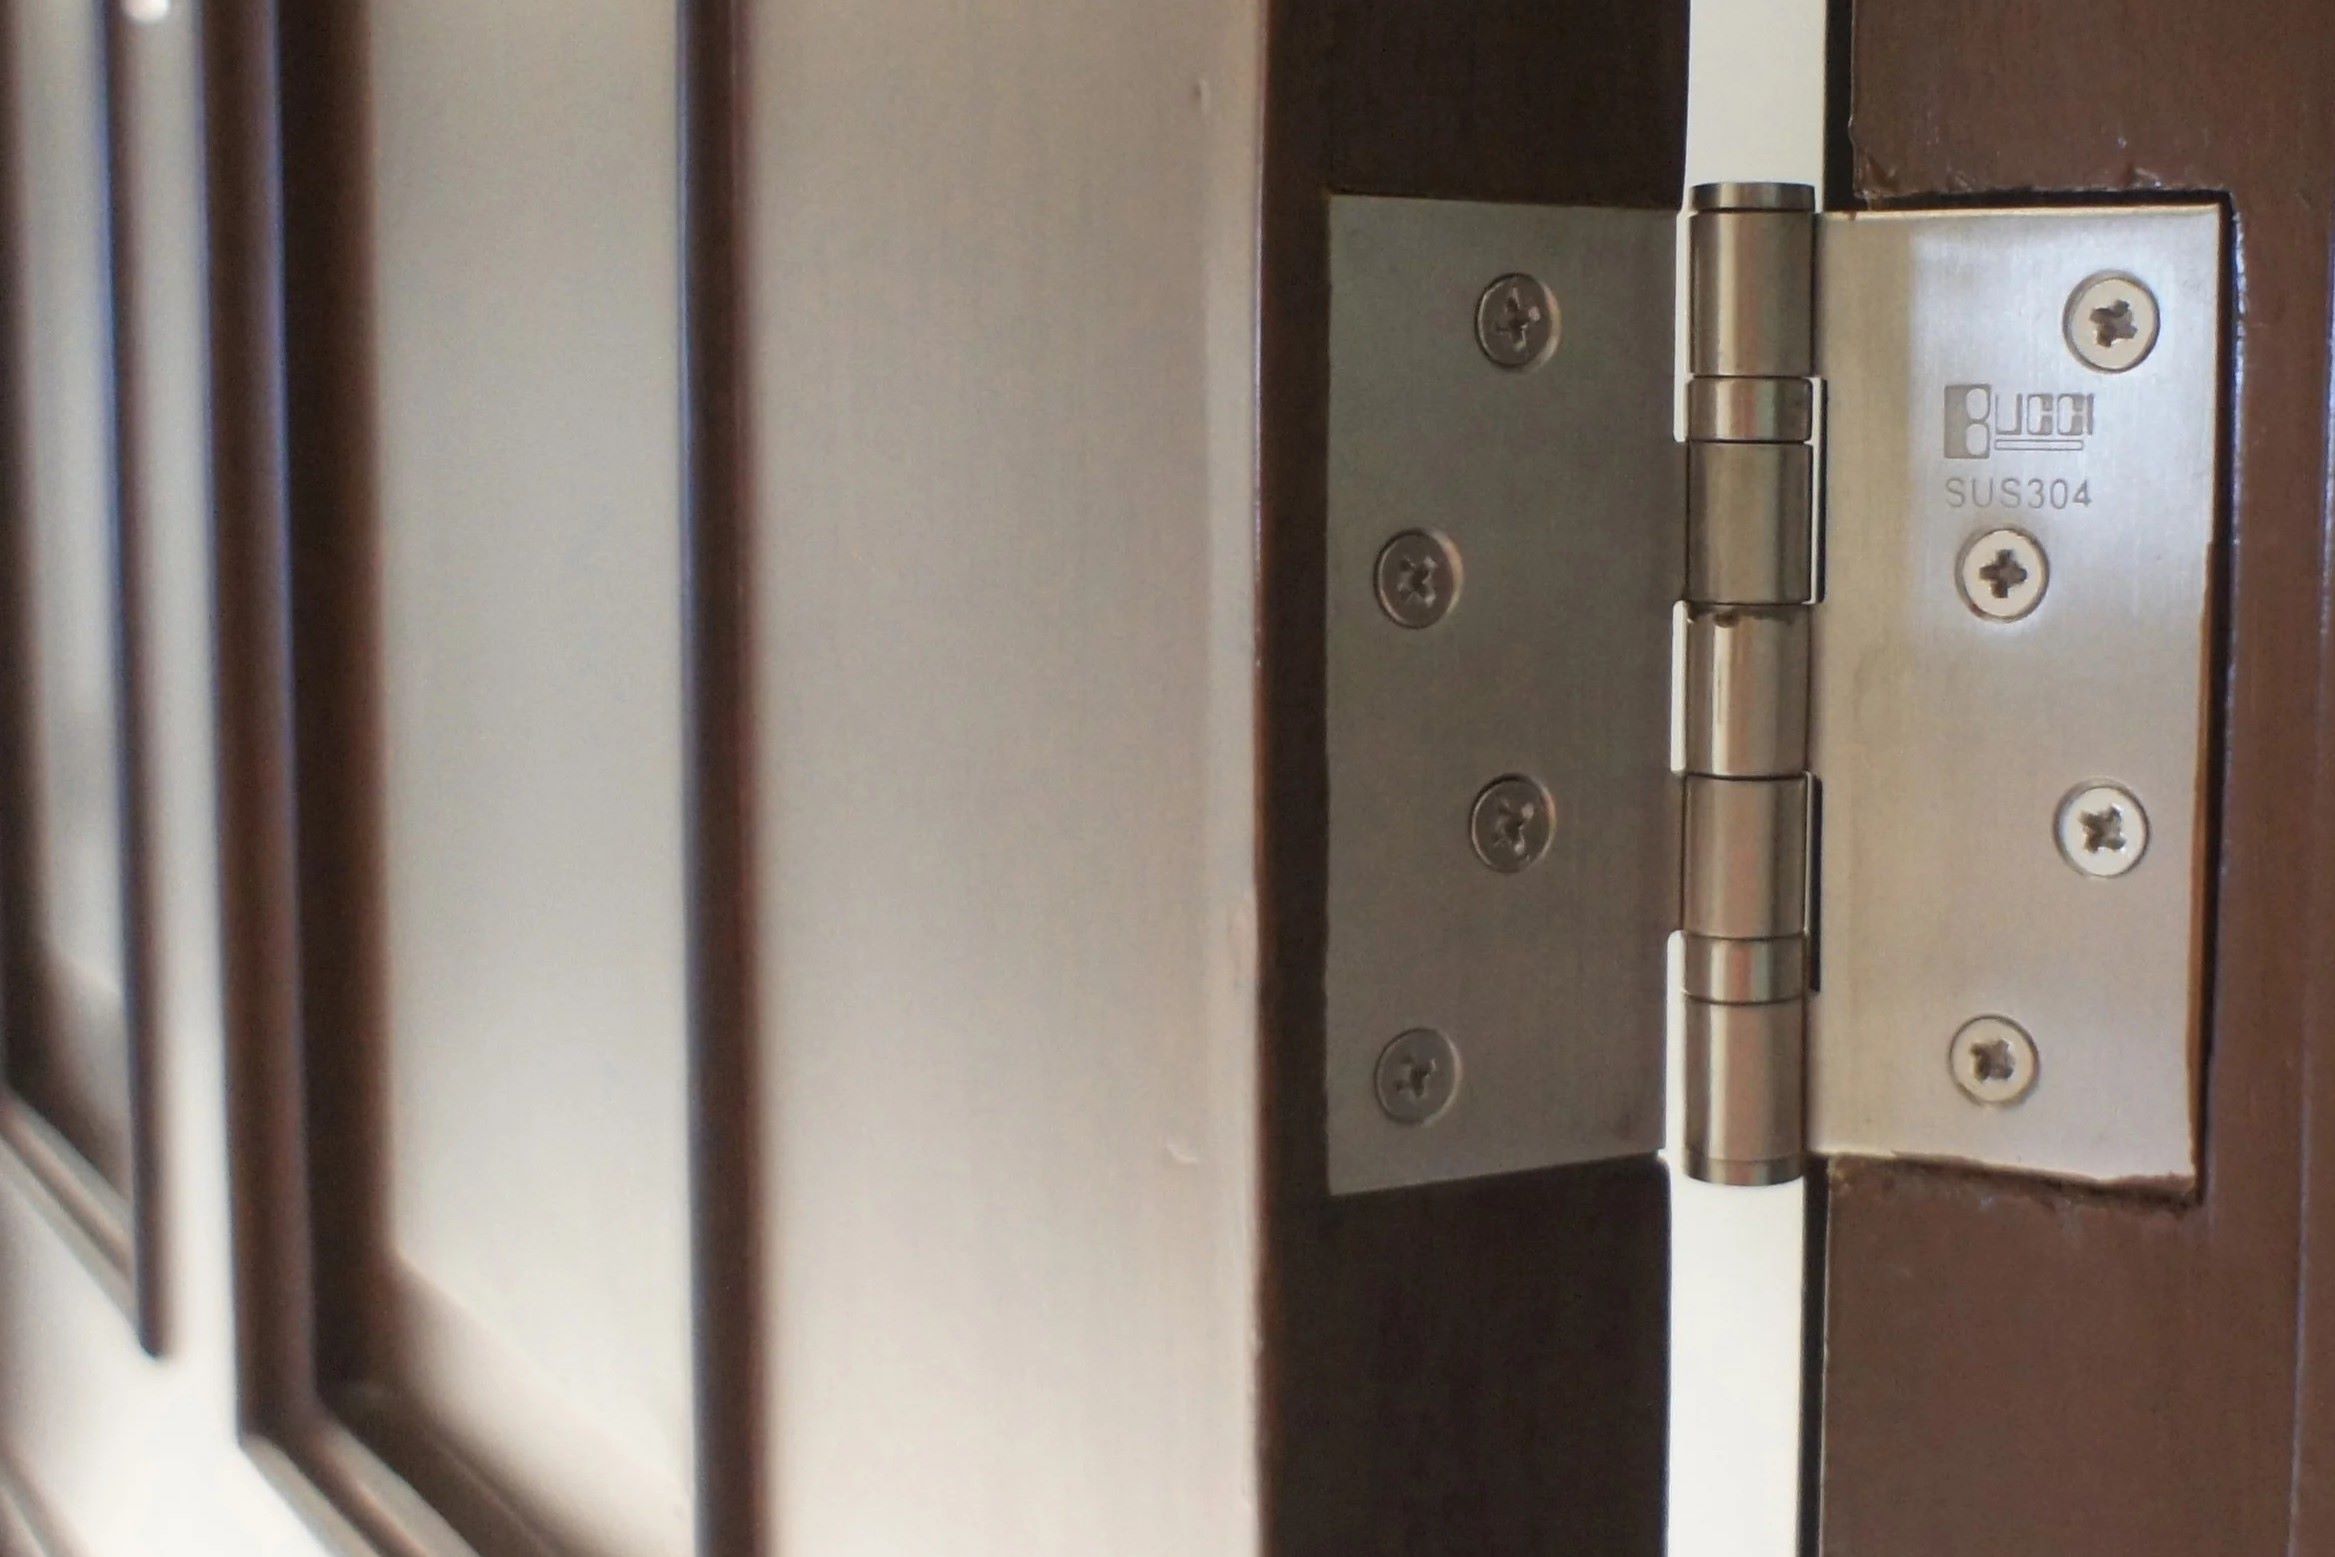
Step 4: Install Shelf Supports
With the shelves cut to the precise dimensions, the next crucial step in the construction of DIY closet shelves is the installation of shelf supports. These supports play a pivotal role in providing stability and load-bearing capacity to the shelves, ensuring that they can securely accommodate your clothing, shoes, and other items.
Begin by determining the optimal placement for the shelf supports within the closet. Using a tape measure and a pencil, mark the positions where the supports will be mounted on the closet walls. It's essential to ensure that the supports are aligned evenly and at the appropriate height to accommodate the shelves according to your initial plan.
Once the positions are marked, it's time to attach the shelf brackets or supports to the walls. Using a drill and suitable screws, securely fasten the supports in place, ensuring that they are level and firmly anchored. For added stability, consider using wall anchors if the closet walls are constructed of drywall or plaster.
As you install the shelf supports, periodically check for levelness and alignment to guarantee that the shelves will sit evenly and securely once in place. This meticulous approach will contribute to the overall stability and visual appeal of the finished shelving system.
Depending on the design and layout of your closet shelves, you may opt for adjustable shelf supports to allow for flexibility in shelf positioning. These adjustable supports enable you to reconfigure the shelf heights as needed, accommodating items of varying sizes and optimizing the storage space within the closet.
In addition to traditional shelf brackets, alternative support options such as floating shelf brackets or concealed brackets can impart a modern and minimalist aesthetic to the shelves. These sleek and contemporary support solutions create the illusion of shelves floating on the wall, adding a touch of elegance to your closet space.
By carefully installing the shelf supports with precision and attention to detail, you are laying the groundwork for a sturdy and reliable shelving system that will effectively organize and showcase your belongings. With the supports securely in place, you are now ready to proceed to the next step of attaching the shelves, bringing you one step closer to enjoying a well-organized and visually appealing closet space.
Step 5: Attach Shelves
With the shelf supports securely in place, it's time to proceed to the pivotal stage of attaching the shelves to complete your DIY closet shelving project. This step marks the culmination of your meticulous planning and precise measurements, as the shelves are integrated into the closet space, transforming it into a functional and organized storage area.
Begin by positioning the cut shelves onto the installed supports, ensuring that they align with the markings and layout plan established during the earlier stages of the project. Take care to verify that the shelves are level and evenly spaced, as this attention to detail will contribute to the overall visual appeal and functionality of the shelving system.
Once the shelves are in position, secure them to the supports using suitable screws or fasteners. It's essential to drive the screws through the underside of the shelves into the supports, ensuring a firm and stable connection. Depending on the design of the shelves and supports, you may opt for countersinking the screws to achieve a seamless and polished finish.
As each shelf is attached, take a moment to assess its stability and load-bearing capacity. Apply gentle pressure to the shelves to confirm that they can support the intended items without any signs of instability or sagging. This proactive approach allows you to address any potential issues before the project is considered complete, ensuring that the shelves are not only visually appealing but also fully functional.
For added reinforcement, consider applying a bead of high-quality wood glue along the edges of the shelves where they meet the supports. This additional step enhances the overall stability of the shelves, creating a strong bond between the components and further fortifying the structure of the shelving system.
As the shelves are securely attached and the final adjustments are made, take a moment to admire the transformation of your closet space. The once cluttered and disorganized area has now been revitalized into a well-organized and visually appealing storage solution that reflects your personal style and attention to detail.
With the shelves successfully attached, you have brought your DIY closet shelving project to fruition, creating a customized and functional storage solution that enhances the overall organization and aesthetics of your home. As you proceed to the final step of organizing your belongings within the newly constructed shelves, take pride in the accomplishment of transforming your closet into a space that not only meets your storage needs but also exudes a sense of craftsmanship and creativity.
Step 6: Organize and Enjoy Your New Closet Space
With the shelves securely in place, it's time to bring order and harmony to your revitalized closet space. Organizing your belongings within the newly constructed shelves is the final step in transforming your closet into a functional and visually appealing storage area that reflects your personal style and attention to detail.
Begin by categorizing your clothing, shoes, and accessories, taking into account your daily routine and the frequency of use for each item. Utilize the newly installed shelves to create designated sections for different categories, such as folded clothing, footwear, handbags, and accessories. By allocating specific areas for each type of item, you can streamline your daily routine and easily locate the items you need.
Consider incorporating storage bins, baskets, or decorative boxes onto the shelves to contain smaller items and accessories, adding a touch of organization and visual appeal to the space. These containers not only contribute to a tidy and clutter-free environment but also serve as decorative elements that complement the overall aesthetic of your closet.
Take advantage of the flexibility offered by adjustable shelves to accommodate items of varying sizes. Whether it's adjusting the shelf heights to accommodate tall boots or creating additional space for folded sweaters, the ability to customize the shelf layout enhances the functionality of your closet and ensures that every item has its designated place.
As you organize your belongings, take the opportunity to declutter and assess the necessity of each item. Consider donating or repurposing items that no longer serve a practical purpose, allowing you to maintain a well-organized and efficient closet space that reflects your current lifestyle and preferences.
Once your belongings are neatly arranged within the shelves, take a moment to step back and admire the transformation of your closet space. The once chaotic and disorganized area has now been elevated into a harmonious and visually appealing storage solution that not only meets your practical needs but also reflects your personal style and creativity.
With your newly organized closet space, you can now enjoy the convenience of a streamlined and efficient storage area that enhances your daily routine. The satisfaction of creating a well-crafted and personalized closet shelving system is not only a testament to your DIY skills but also a reflection of your commitment to maintaining a functional and visually appealing home environment.
As you revel in the accomplishment of your DIY closet shelving project, take pride in the transformation of your closet into a space that not only meets your storage needs but also exudes a sense of craftsmanship and creativity. Embrace the newfound organization and enjoy the enhanced functionality and aesthetics of your revitalized closet space.